Managing Your RateRun Listing: Create, Customise, and Get Approved
Once you have a RateRun account, you can create and manage your own listing in the freelancer directory. This guide walks through the entire process — from filling in your details to uploading a gallery and getting approved.
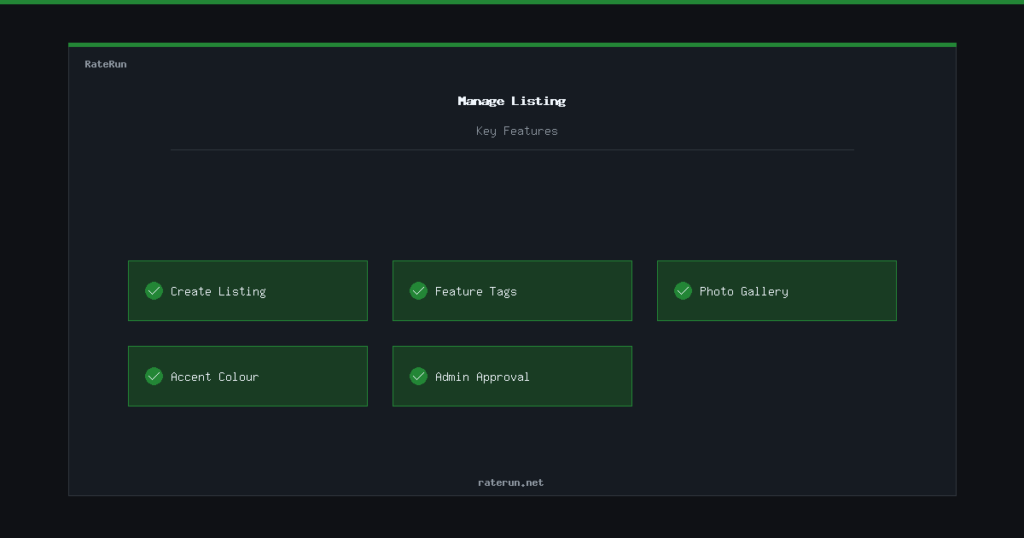
Creating your listing
Head to Manage Listing and you will see the listing editor. Fill in your business name, description, category, and location. Pick the category that best fits your work — this is how people will find you when they browse or filter the directory.
Your description should be clear and specific. Explain what you do, who you work with, and what makes you different. Clients are scanning listings quickly, so front-load the important stuff.
You will also add your contact details — email, phone, and website. These are shown to logged-in users on your public listing page.
Ready to get listed?
Create your free listing in minutes and start getting found by potential clients.
Feature tags
Feature tags are short labels that highlight what you offer. Things like “Remote Available”, “Free Consultation”, “Fast Turnaround”, or “Weekend Hours”. They appear on your listing card and your full profile page.
Tags are searchable — when someone types “remote” in the directory search, listings with that tag show up. Pick tags that genuinely describe your services. Four or five well-chosen tags are better than ten vague ones.
Gallery uploads
Pro users can upload a photo gallery — up to 10 images, 5MB each. This is your portfolio space. Show completed work, your workspace, team photos, or anything that helps clients understand what you do.
Images are displayed as a grid on your listing page. Visitors can click any image to see it full-size. The gallery is managed from the same Manage Listing page — upload, reorder, or remove images at any time.
Show your work with a Pro gallery
Upload up to 10 portfolio images. Let your work speak for itself.
Custom accent colour
Pro users can also set a custom accent colour for their listing. This changes the colour of headings, buttons, and highlights on your profile page. If your brand uses a specific colour, you can match it here so your listing feels like an extension of your own website.
The colour picker is in the Manage Listing editor, right below the gallery section. Pick any hex colour and it is applied instantly.
Publish and approval
When your listing is ready, hit Submit for Review. An admin reviews every new listing before it goes live. This keeps the directory quality high and ensures no spam or incomplete profiles get through.
Most listings are approved within a day. Once approved, your listing is live on the public directory and searchable immediately. You will be able to edit your listing at any time from the Manage Listing page — changes are applied instantly without needing re-approval.
Free to list, easy to manage
Creating a listing costs nothing. Upgrade to Pro for gallery, accent colours, and more.
Tips for a great listing
A few things that make a real difference:
- Be specific in your description — “I build Shopify stores for small fashion brands” beats “Web developer with experience”.
- Use feature tags wisely — pick the ones clients actually search for.
- Upload real portfolio images — stock photos do not build trust.
- Keep your contact details current — nothing wastes a lead faster than a dead email.
Your directory profile starts here
Set up your listing, add your best work, and let clients come to you.